I made SK's apple slab pie last fall to great acclaim – in fact, the reception was so positive that I wound up making it three times in the space of a week, and there was nary a slice left over that wasn't immediately gobbled up by my parents' neighbors and their nine year old twins. So why haven't I written it up until now, you ask? Or, more accurately, you demand, with a stamp of the foot and the missed opportunity of apple slab pie on your palate?
I have no excuse. There is no amount of busy-ness or family drama or house-/job hunting that can explain why I didn't stay up all night editing photos and writing up the recipe. I just...didn't. And I'm truly sorry, because you've all been missing out. But I plan to make amends now; better late than never!
But not for you, when it comes to making this pie. Get on it. Seriously, you guys, this thing is TASTY. Not too sweet, with a flaky, buttery handmade double crust just bursting with appley goodness. And yes, you read that right: I made the crust from scratch. I almost never do that, especially here in the US, where frozen pie crust is so easy to come by and decently tasty, but this time I figured I might as well make use of my mom's Cuisinart and spare myself the math of trying to make a long rectangle out of two pre-made circles.
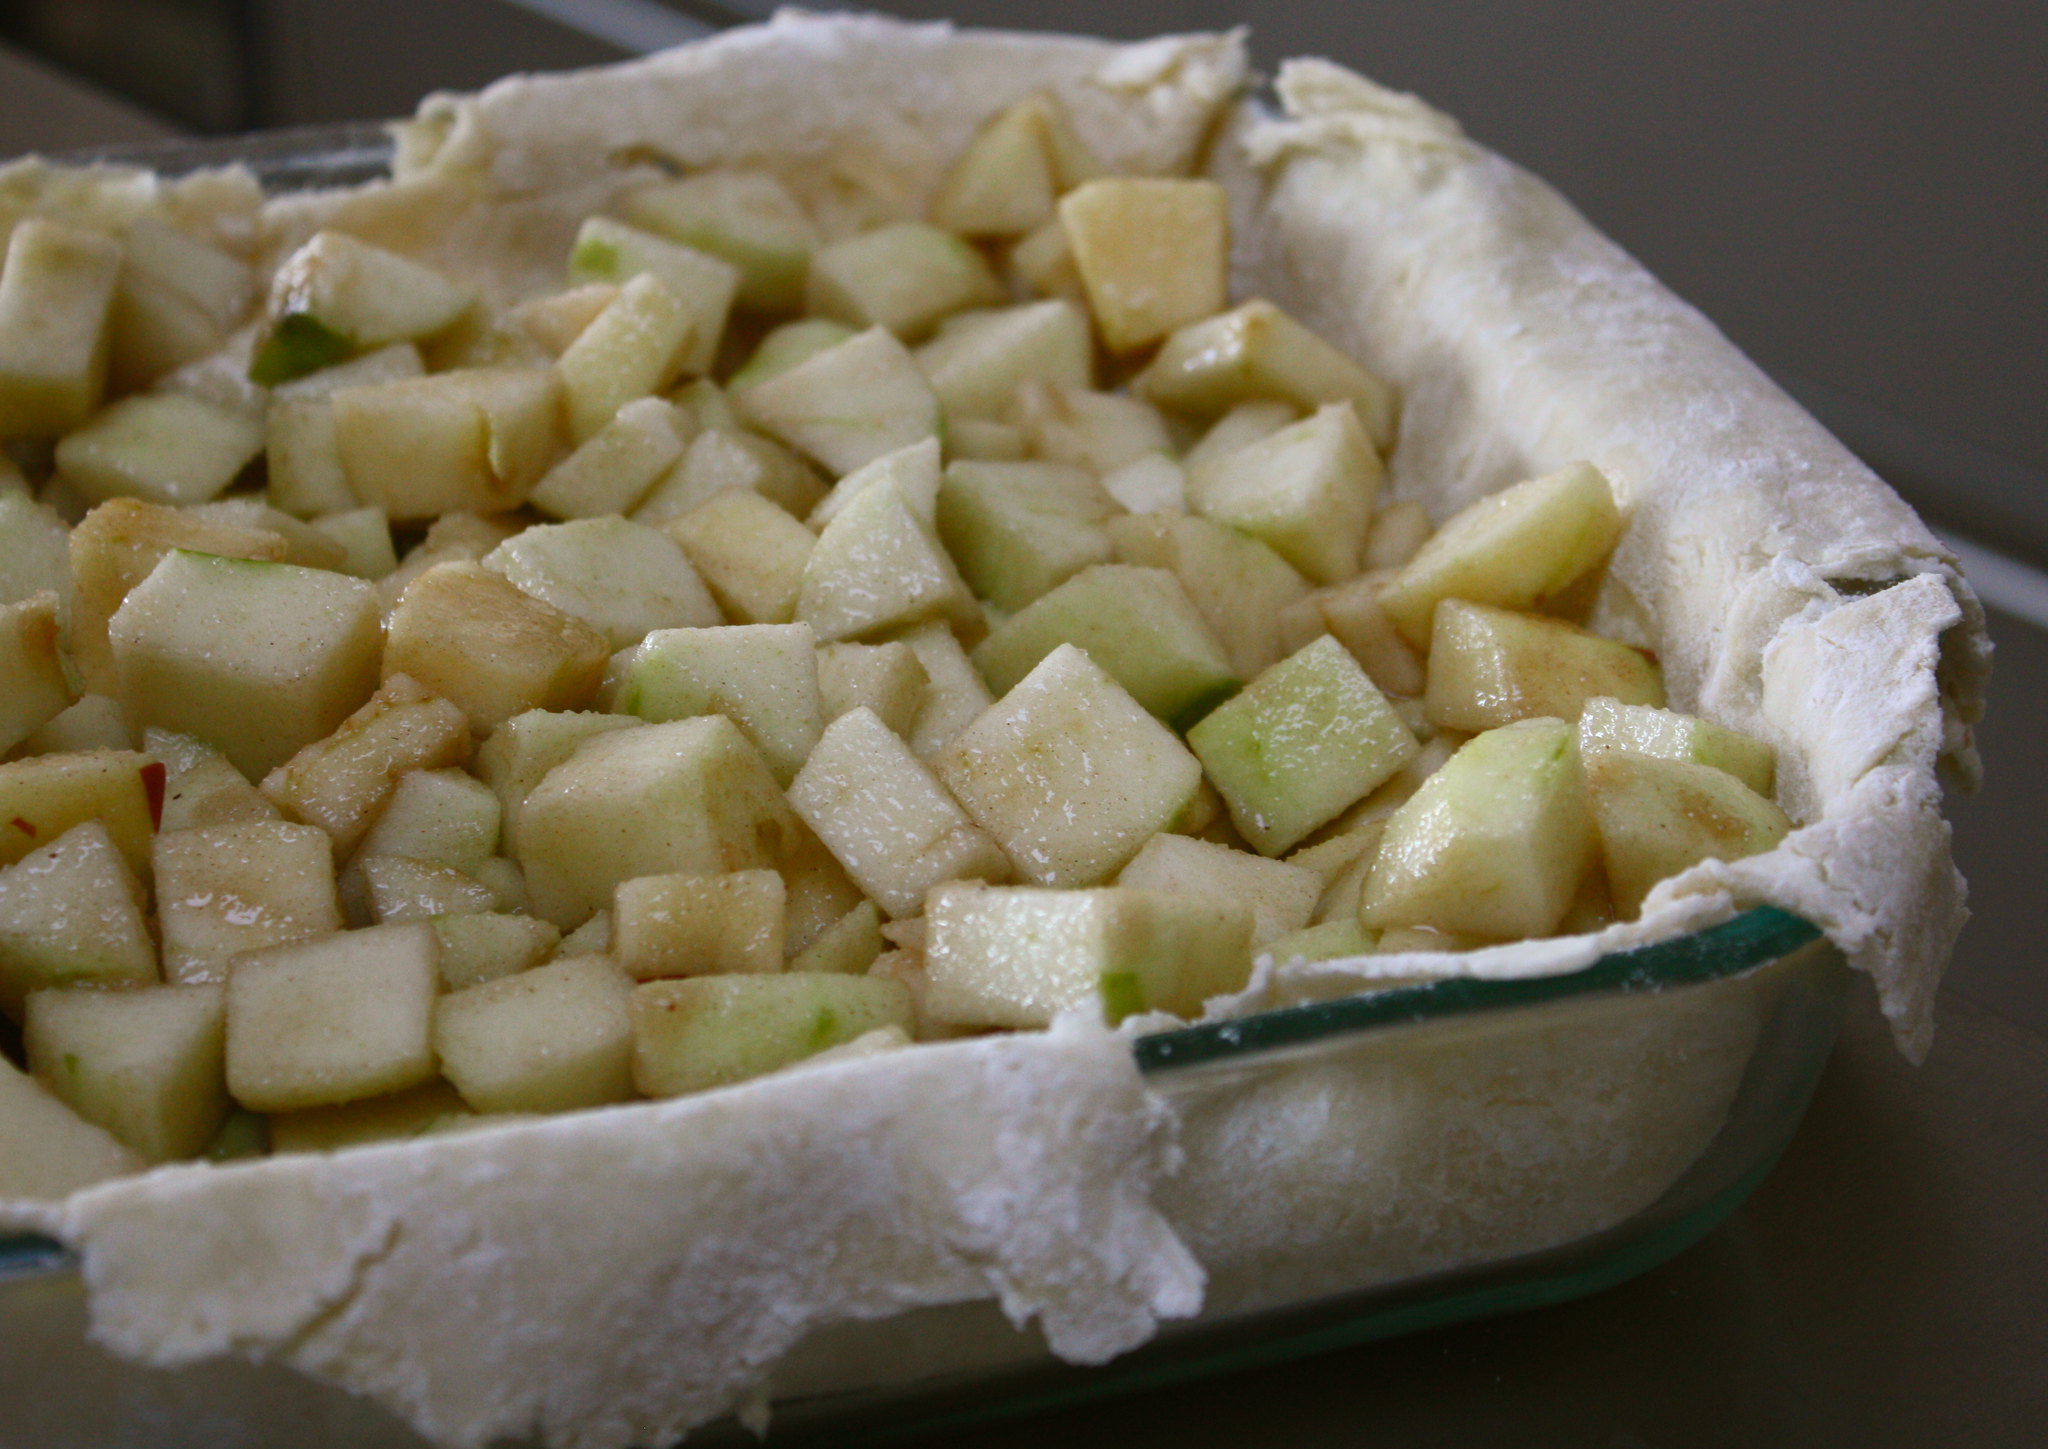
I also figured that with such a simple filling, the flavor of the crust would matter more, especially given that the first time I tried this recipe in its entirety (I'd tested a half-recipe in a round tin but that's hardly the same) would be on Thanksgiving, when standards are high in my family. Luckily, the crust was definitely the bulk of the work; making the filling was just a matter of peeling and chopping up apples and tossing them with lemon juice and sugar.
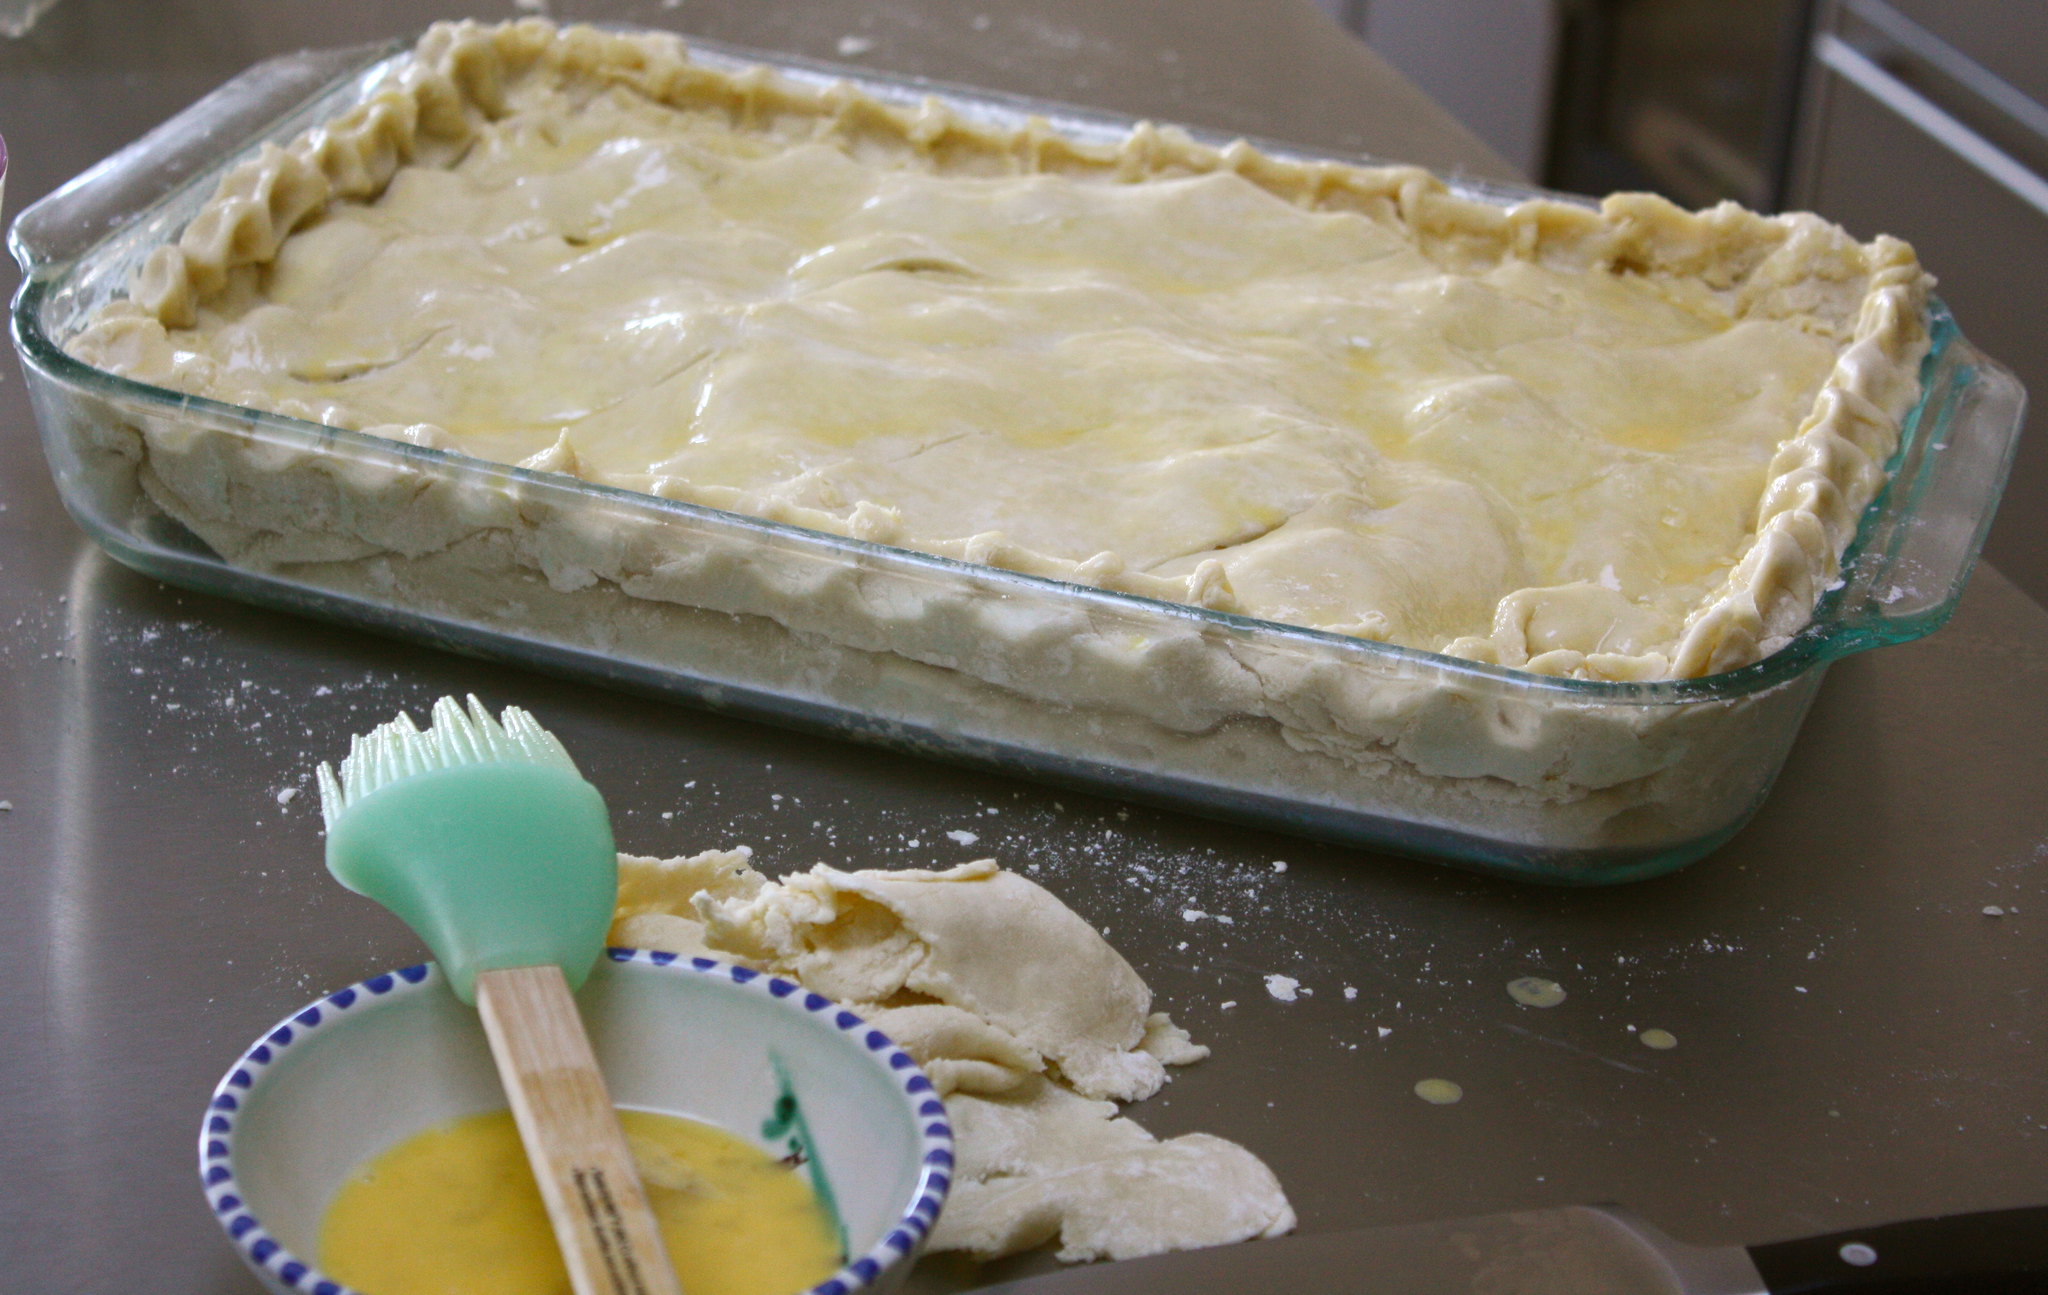
Putting the whole thing together was really the tricky bit – of course I didn't roll my dough out perfectly, so I had plenty of ragged edges that didn't quite match up between the bottom and the top, and pinching everything to a perfect crimped seal like Deb's was a lofty goal. Still, even though it didn't turn out as beautifully as I would have liked, I was pretty excited about the finished product. And then I put it in the oven and the most divine smell started to fill the house...
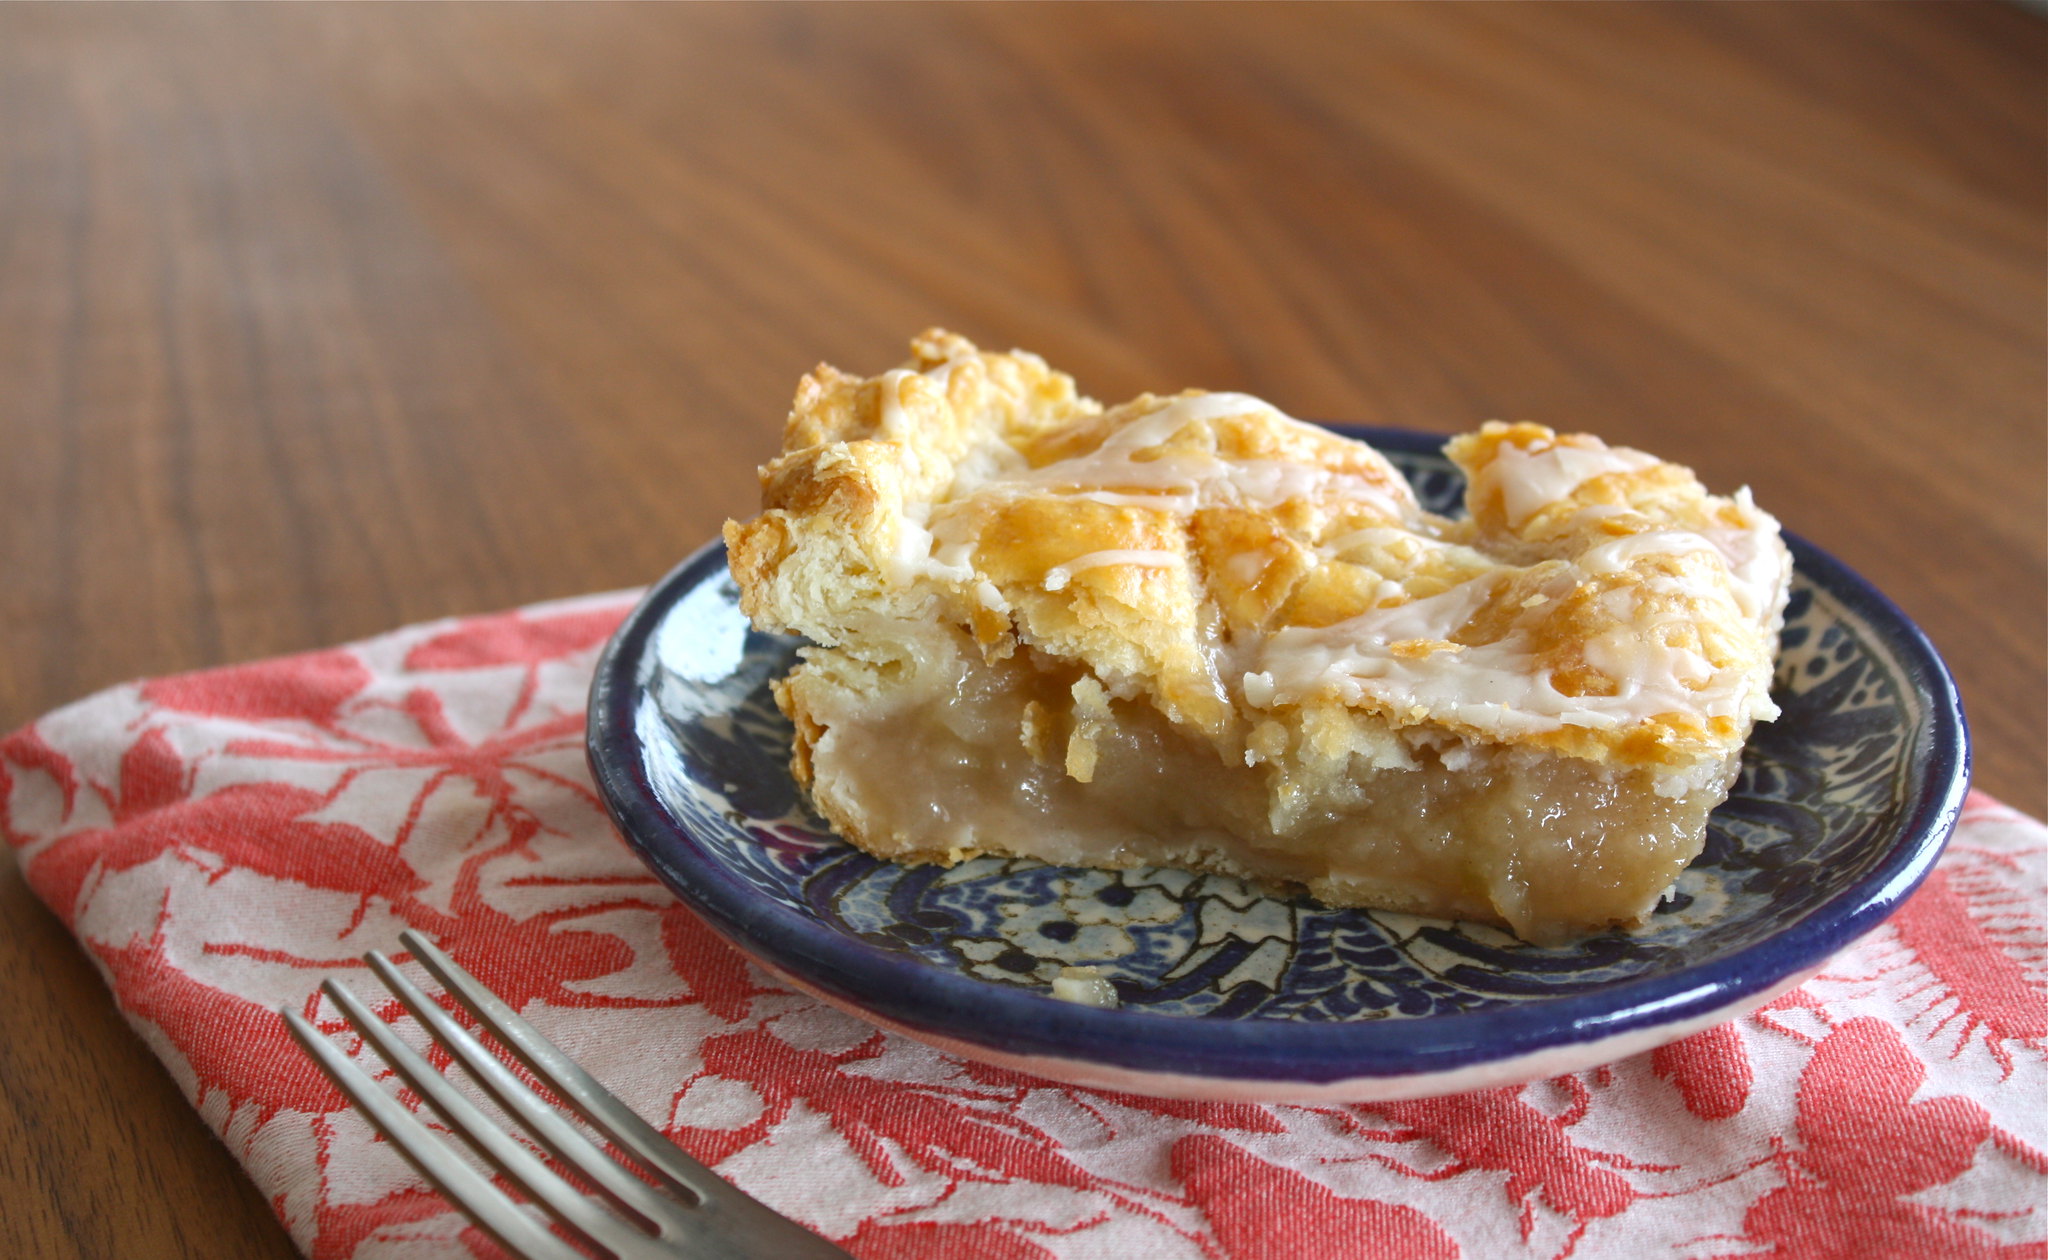
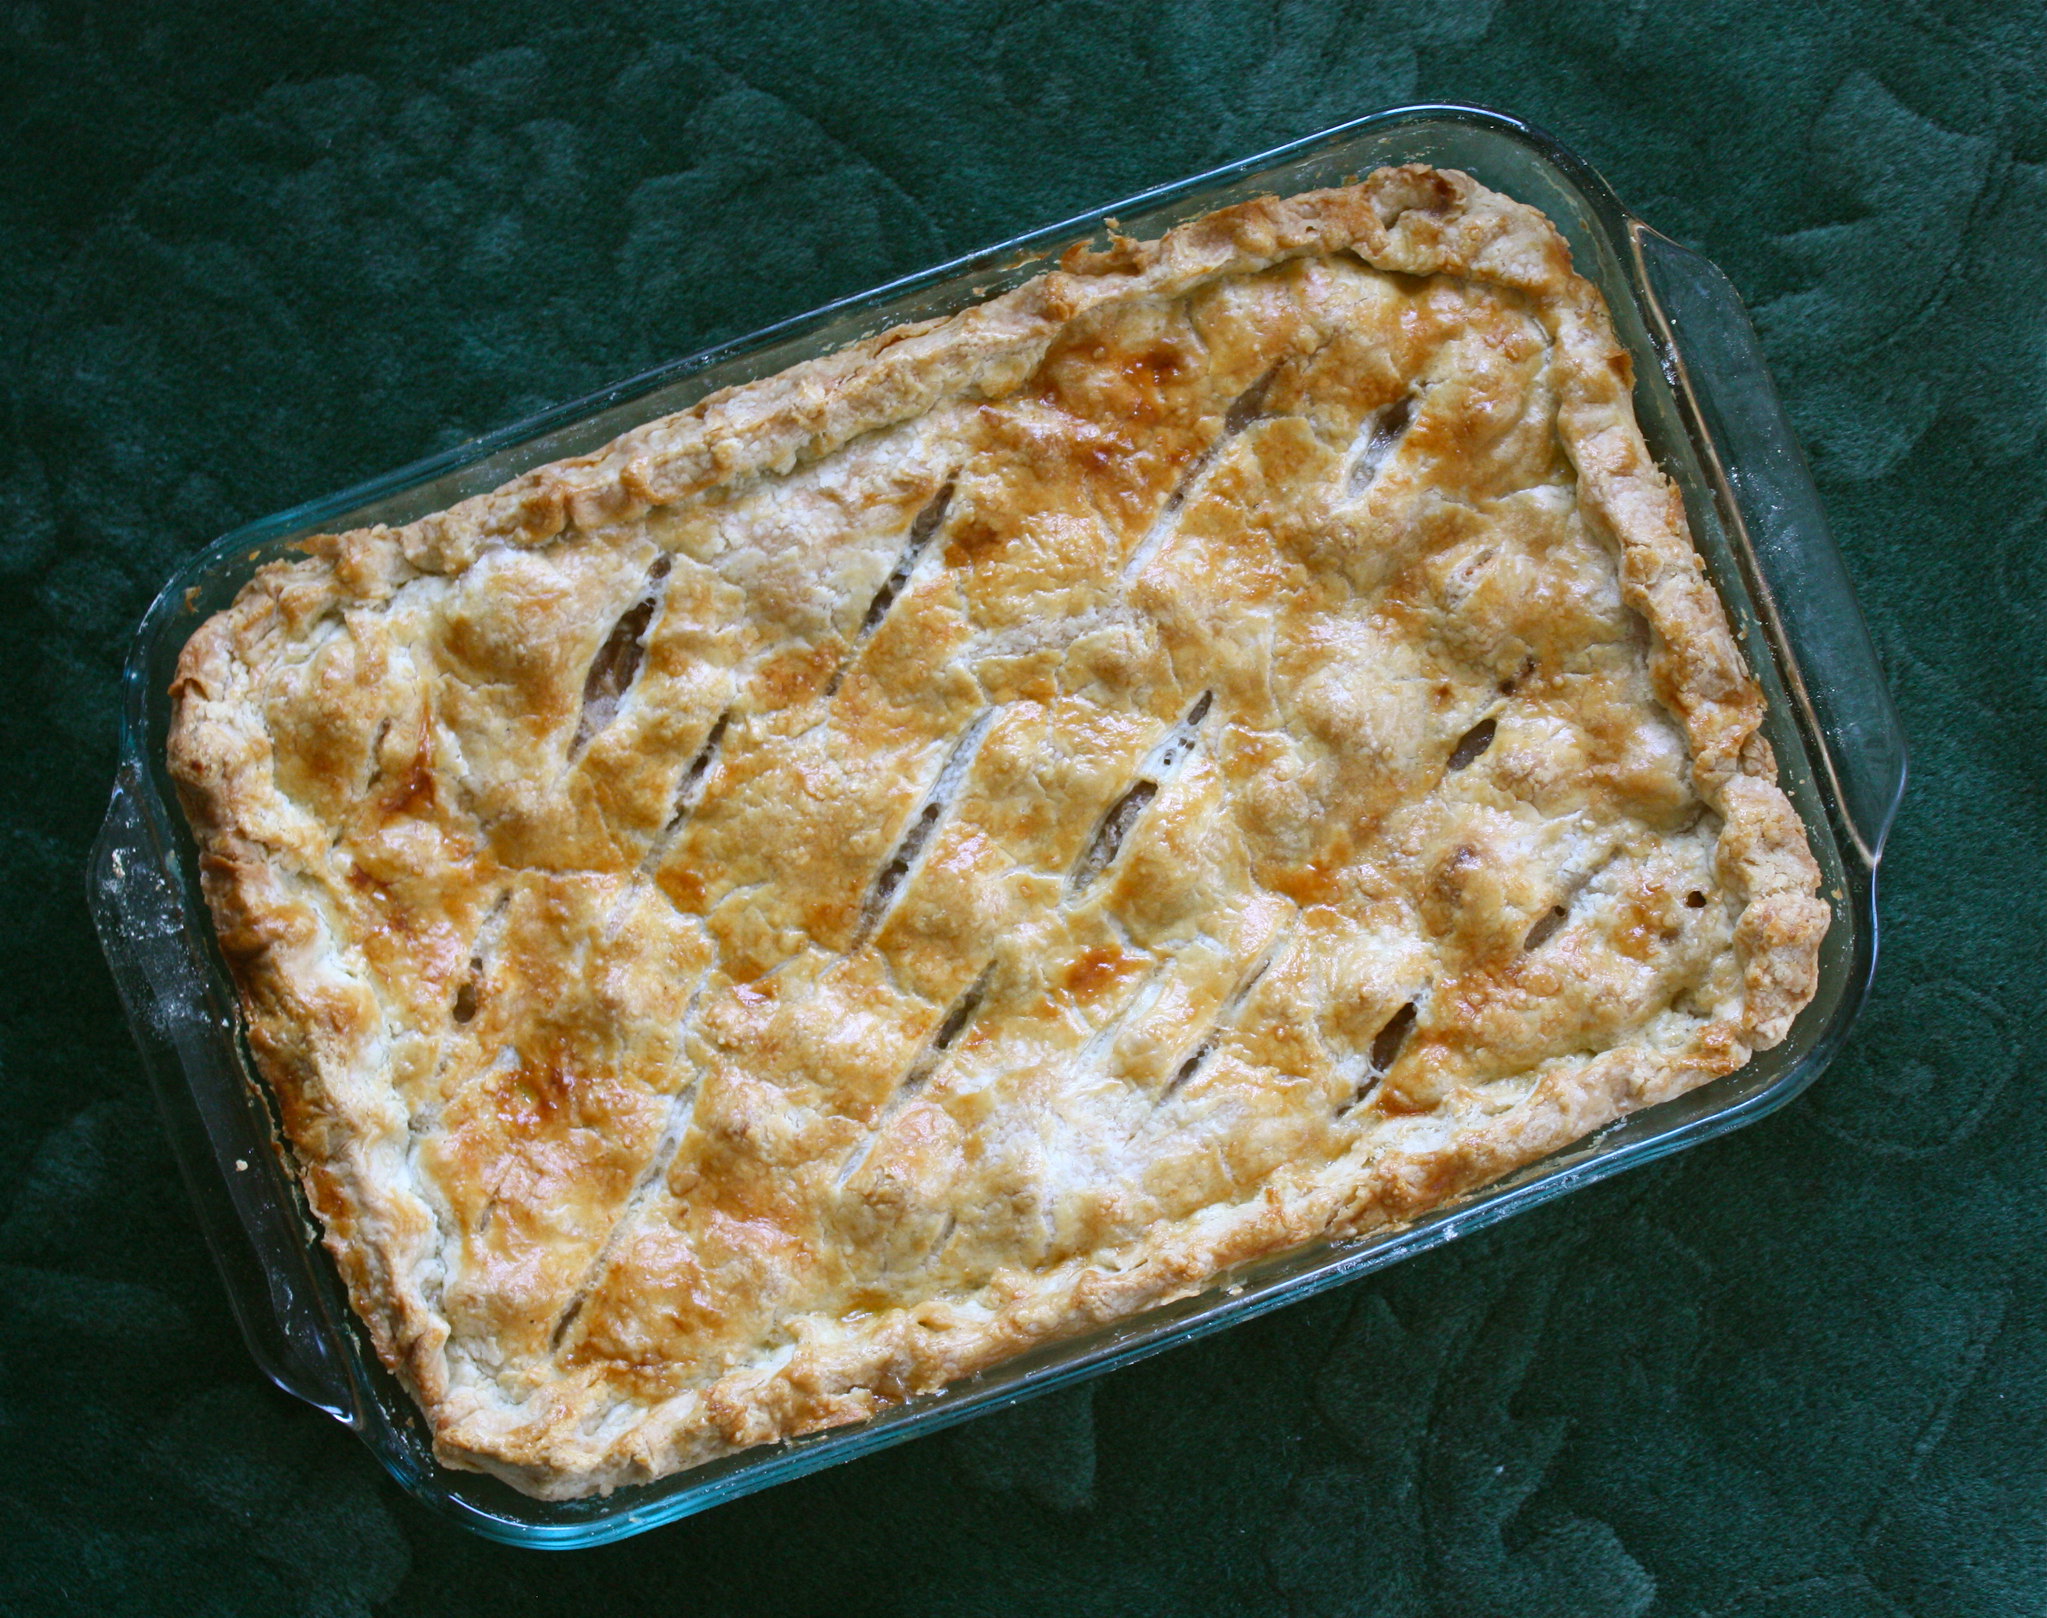
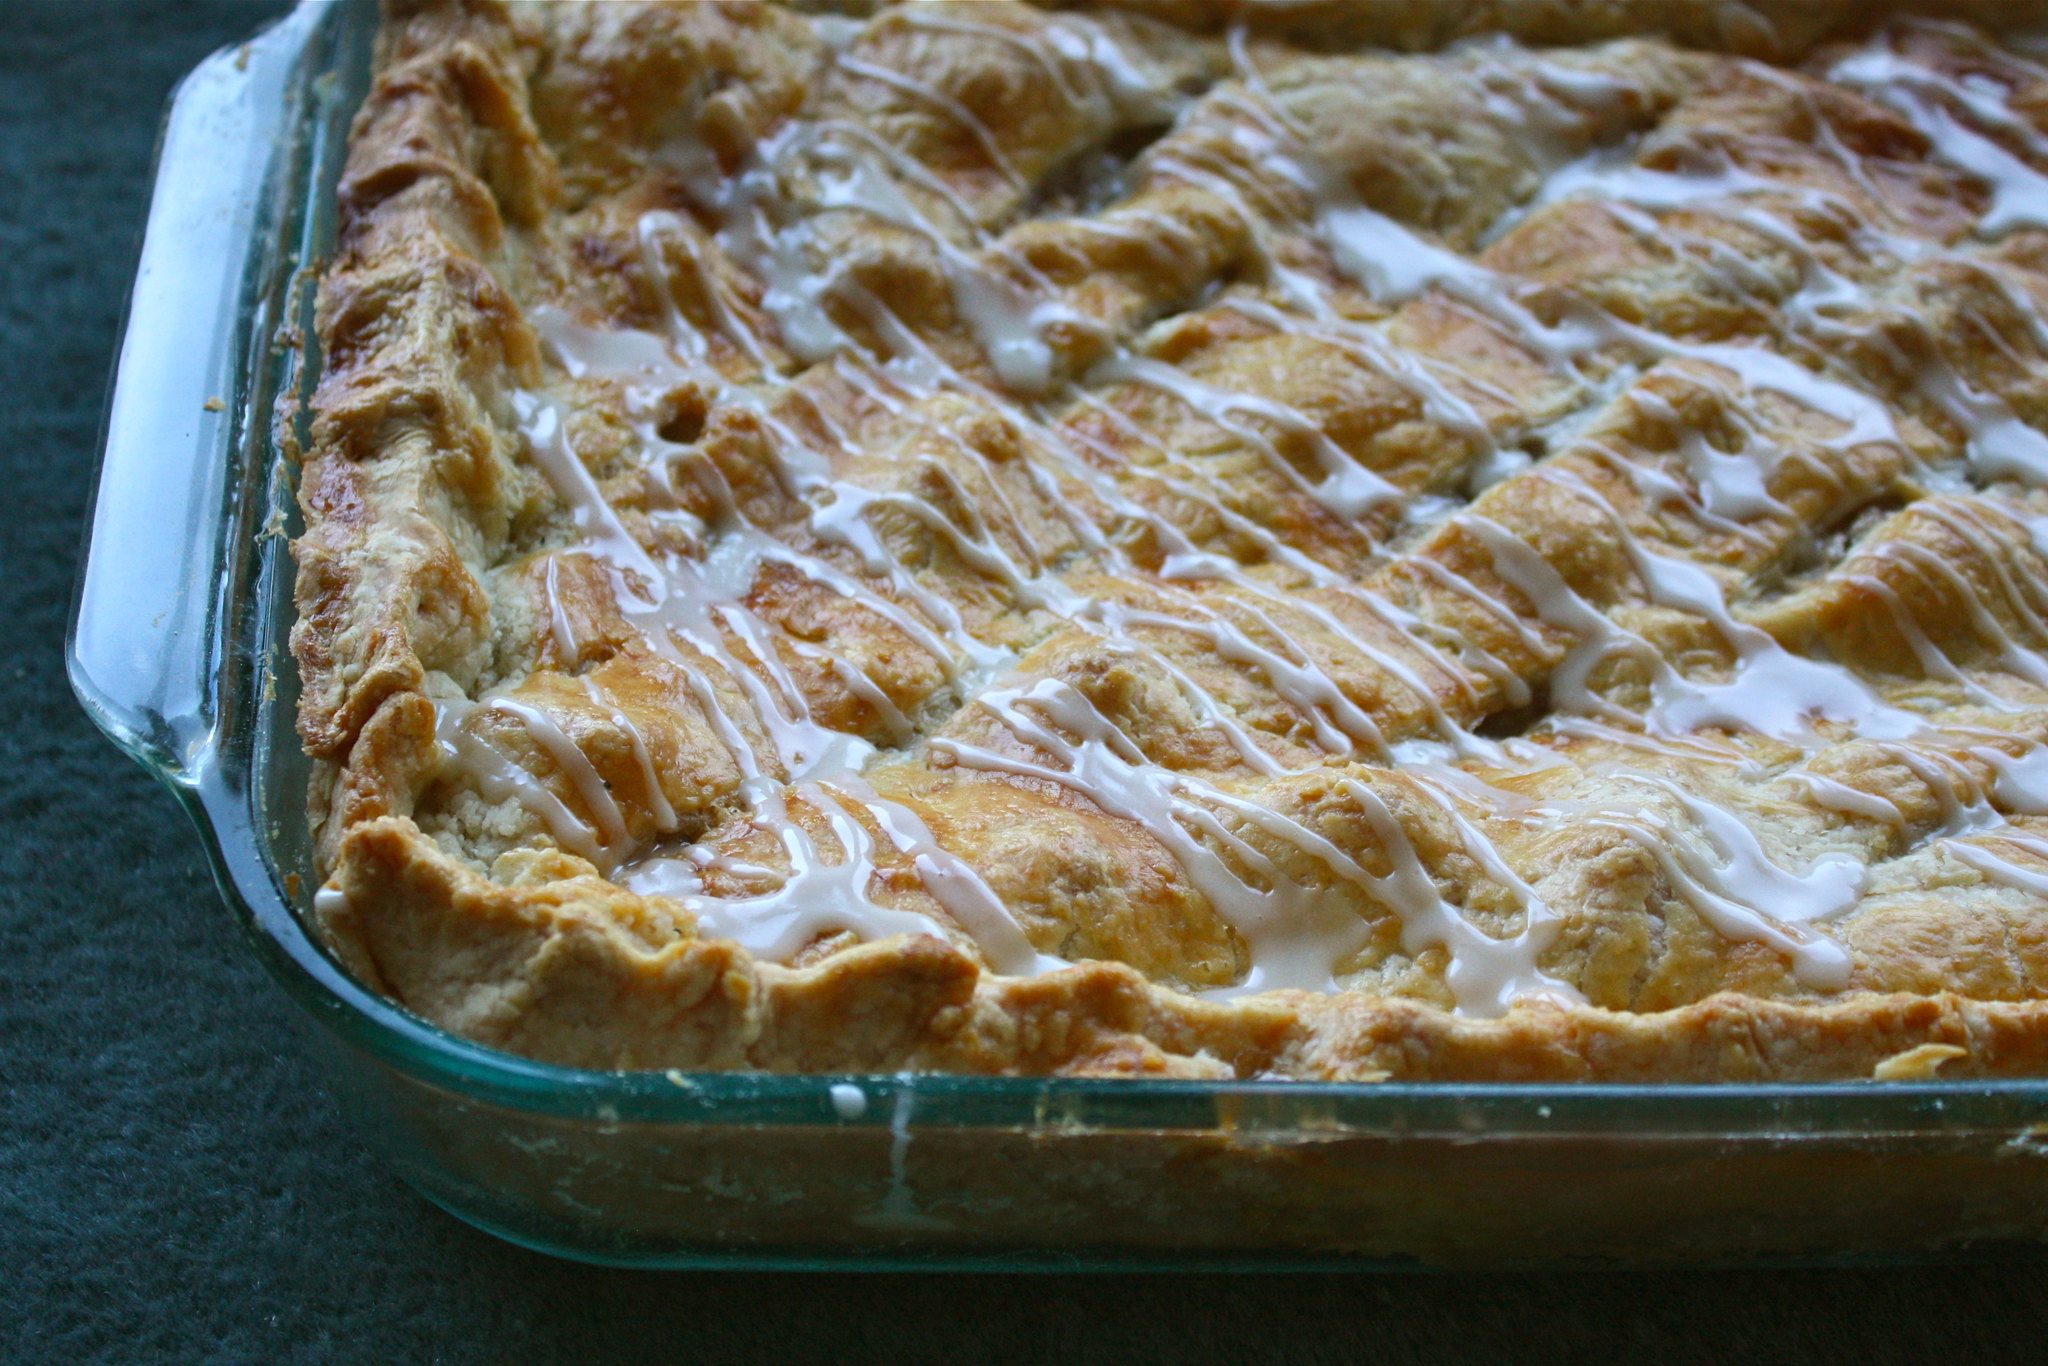
When I took that heavenly-smelling beauty out of the oven, I could tell immediately that all the effort I'd put into hand-making and rolling the crust was going to be worth it.
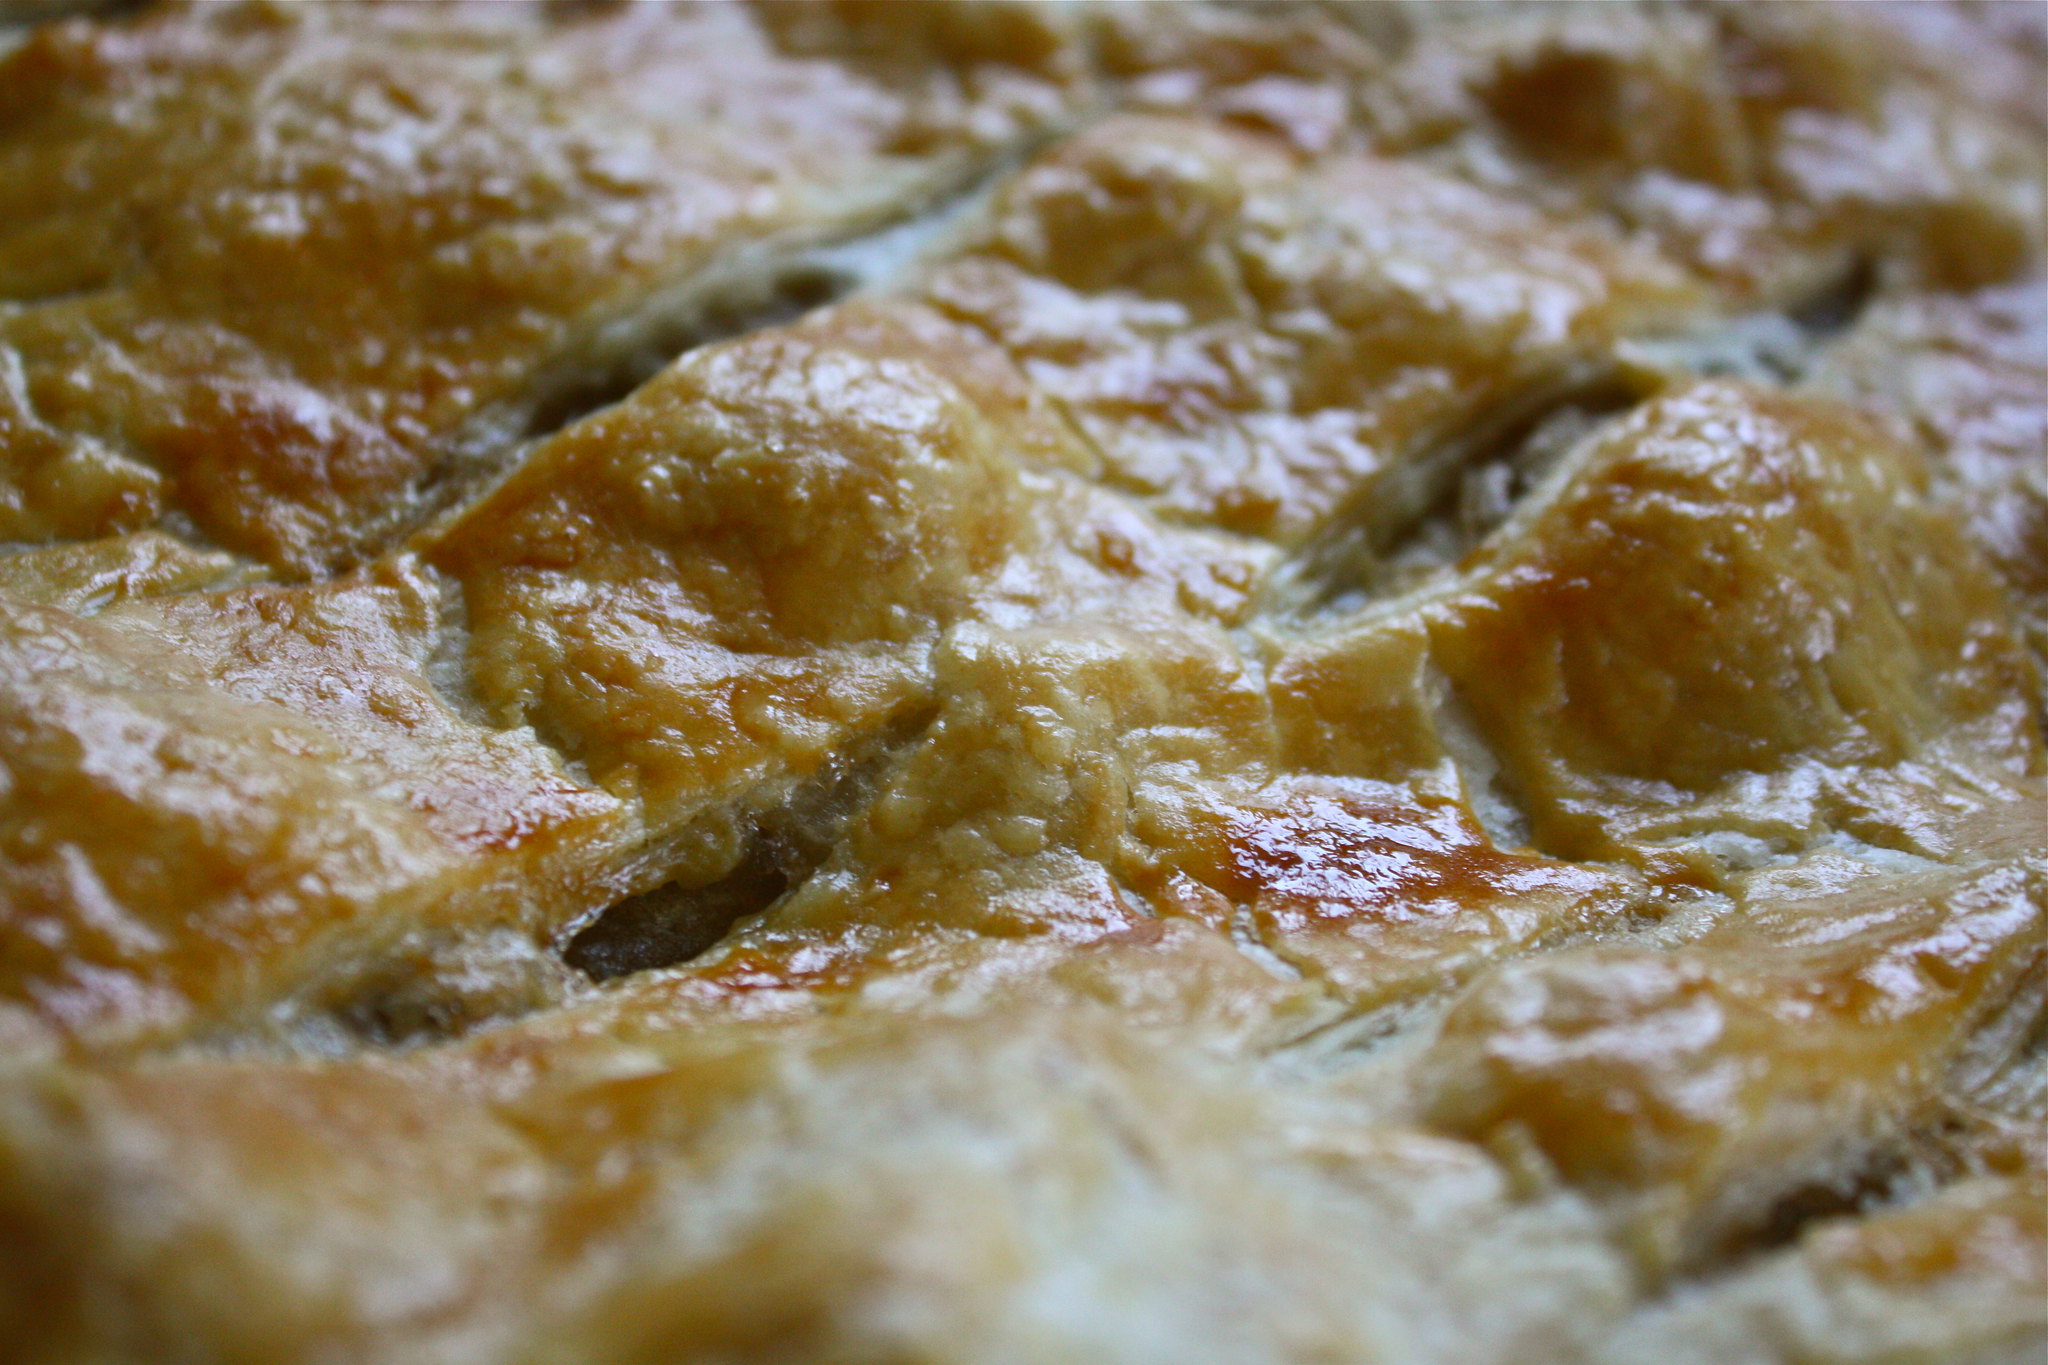
I mean, just look at that crust. Can't you almost taste it through the screen?
The icing was really gilding the lily, but I wasn't complaining (and neither were the neighbor kids!). As I said before, this pie was so unbelievably good that I made it three times in a week, and now it's all I can do to stop myself running to the kitchen to get started on another one at 11pm on a Saturday night. These Oreos are simply not cutting it...
So don't be like me; don't procrastinate something so delicious. You deserve a slice of apple slab pie right this minute (well, in a few hours), and gosh darn it, so do I. Off to the grocery store I go – my roomies are in for a treat tonight!
Apple Slab Pie
barely adapted for what I had at my disposal from the more detailed Smitten Kitchen recipe
Crust
Whisk together in the bottom of a large, ideally wide or flat-bottomed bowl:
3 3/4 c all-purpose flour
1 1/2 tbsp sugar
1 1/2 tsp table salt
Using your fingertips, work into the flour:
3 sticks (340g) unsalted butter, very cold, chopped into small pieces
Continue to work the butter until the biggest pieces are the size of small peas, then, with a rubber spatula, gently stir in:
3/4 c ice water
Mix until the dough is a shaggy lump, then knead with your hands two or three times, just until a ball forms. Divide dough roughly in half and wrap each half in plastic wrap, flattening it a bit into a disc, then chill in the fridge for at least an hour. (You can also refrigerate the dough for up to two days or put the discs into a freezer bag and freeze for 1-2 months. Defrost in the fridge overnight.)
When you're ready to make the pie, heat the oven to 375F/190C. Lightly grease the bottom of a 9x13" baking dish or a 10x15" jelly roll pan and make your filling.
Filling
In a large bowl, toss until coated:
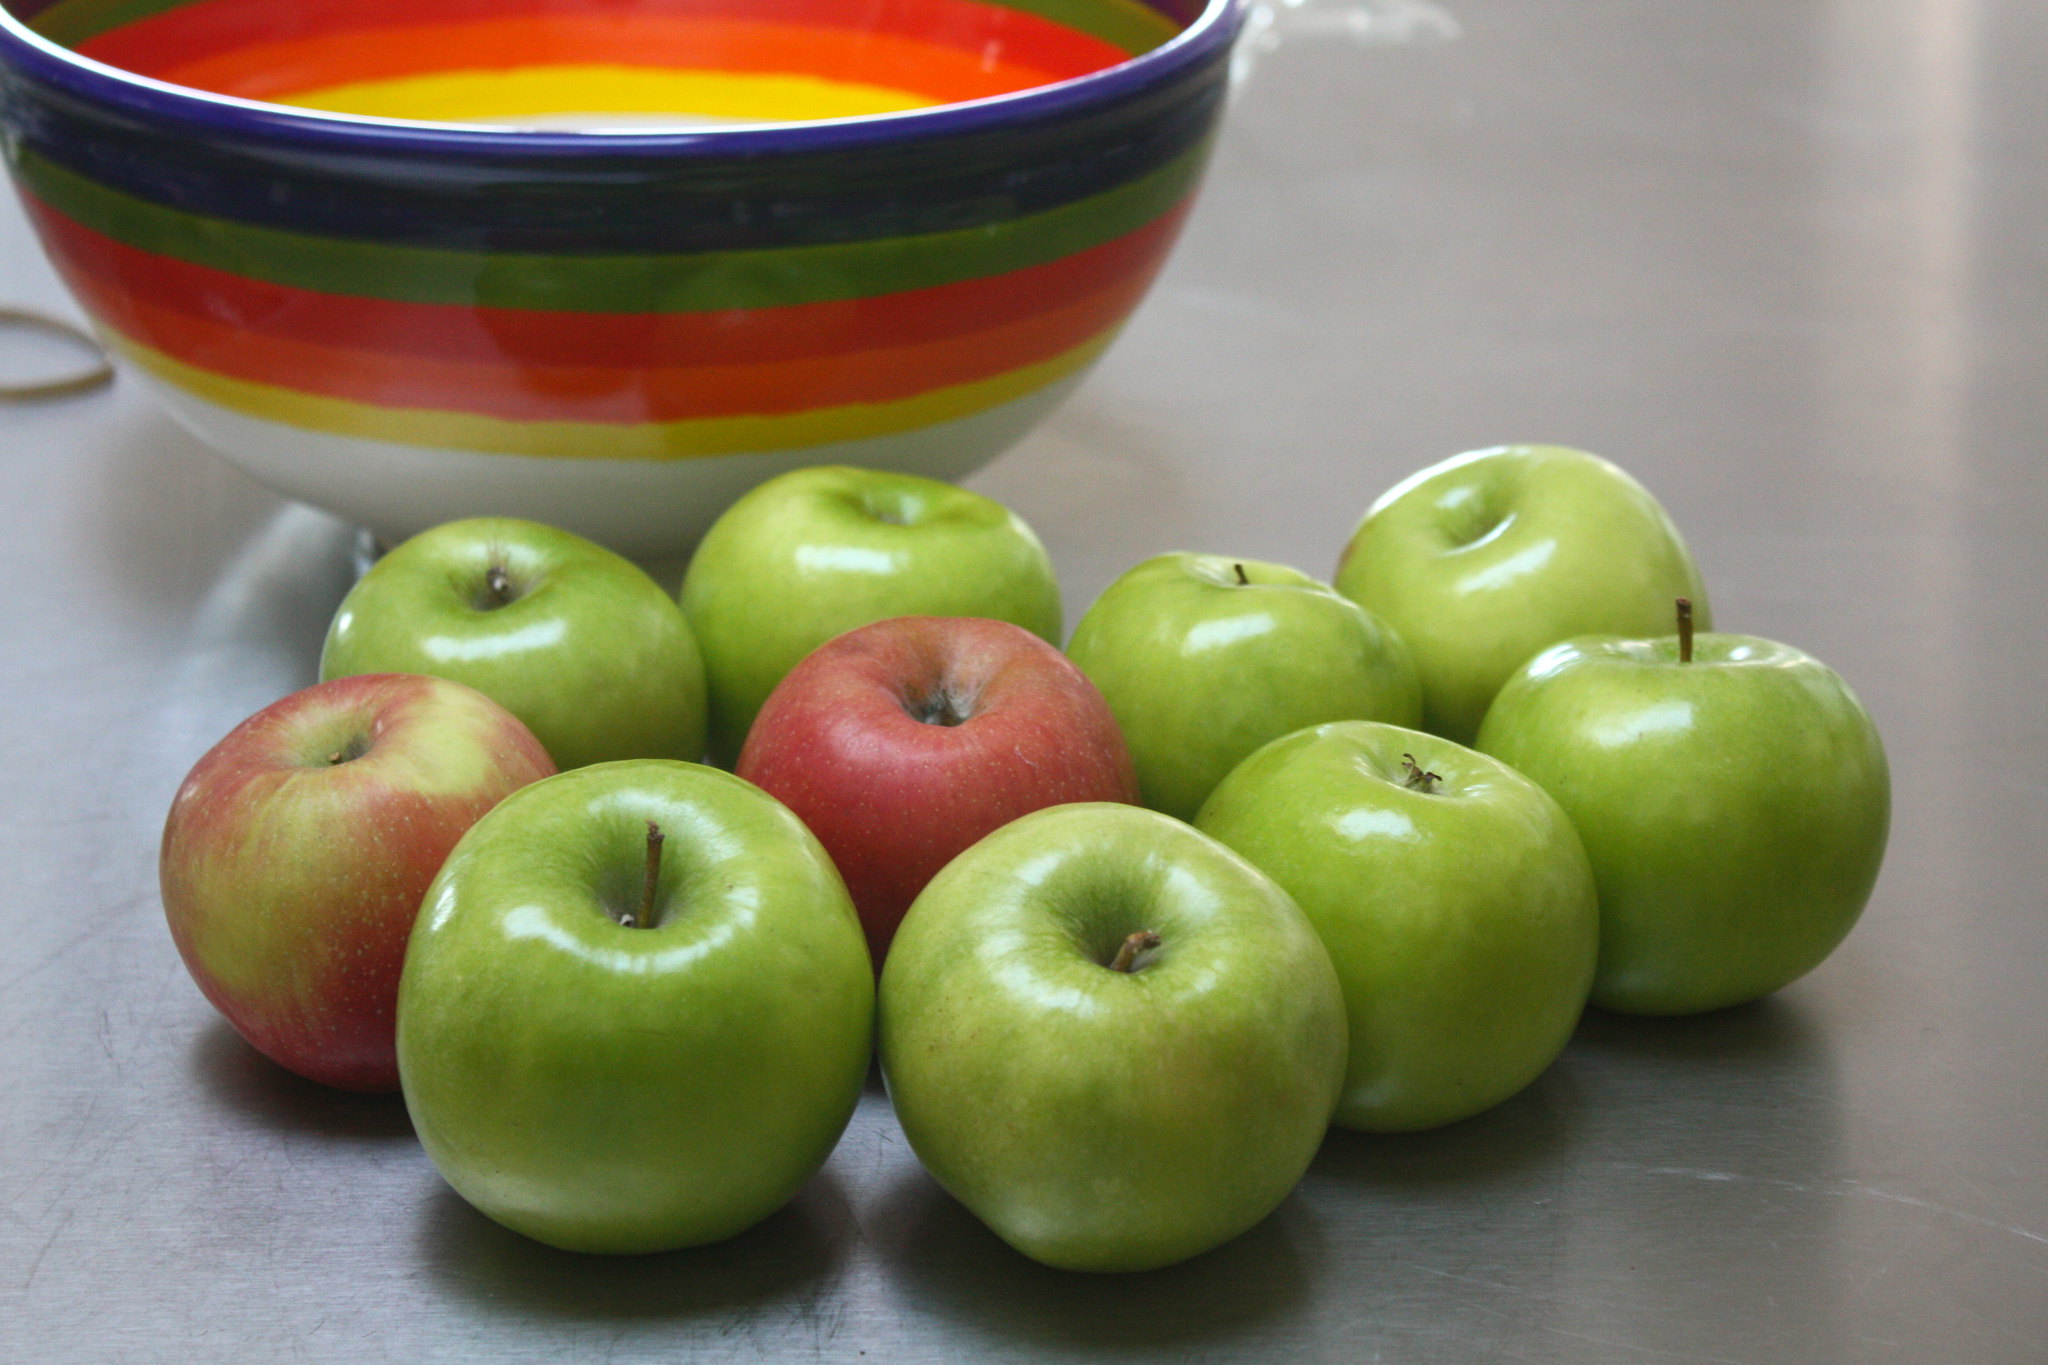
3.5-4 lbs apples, peeled, cored and chopped into small chunks
Squeeze of lemon juice
Add and stir to coat evenly:
2/3-3/4c sugar, depending on how sweet your apples are (I used Granny Smith apples but we like our pies less sweet so I only used a little over 2/3c)
3 tbsp cornstarch
1 tsp ground cinnamon
1/4 tsp ground nutmeg
1/4 tsp ground allspice
1/8 tsp table salt
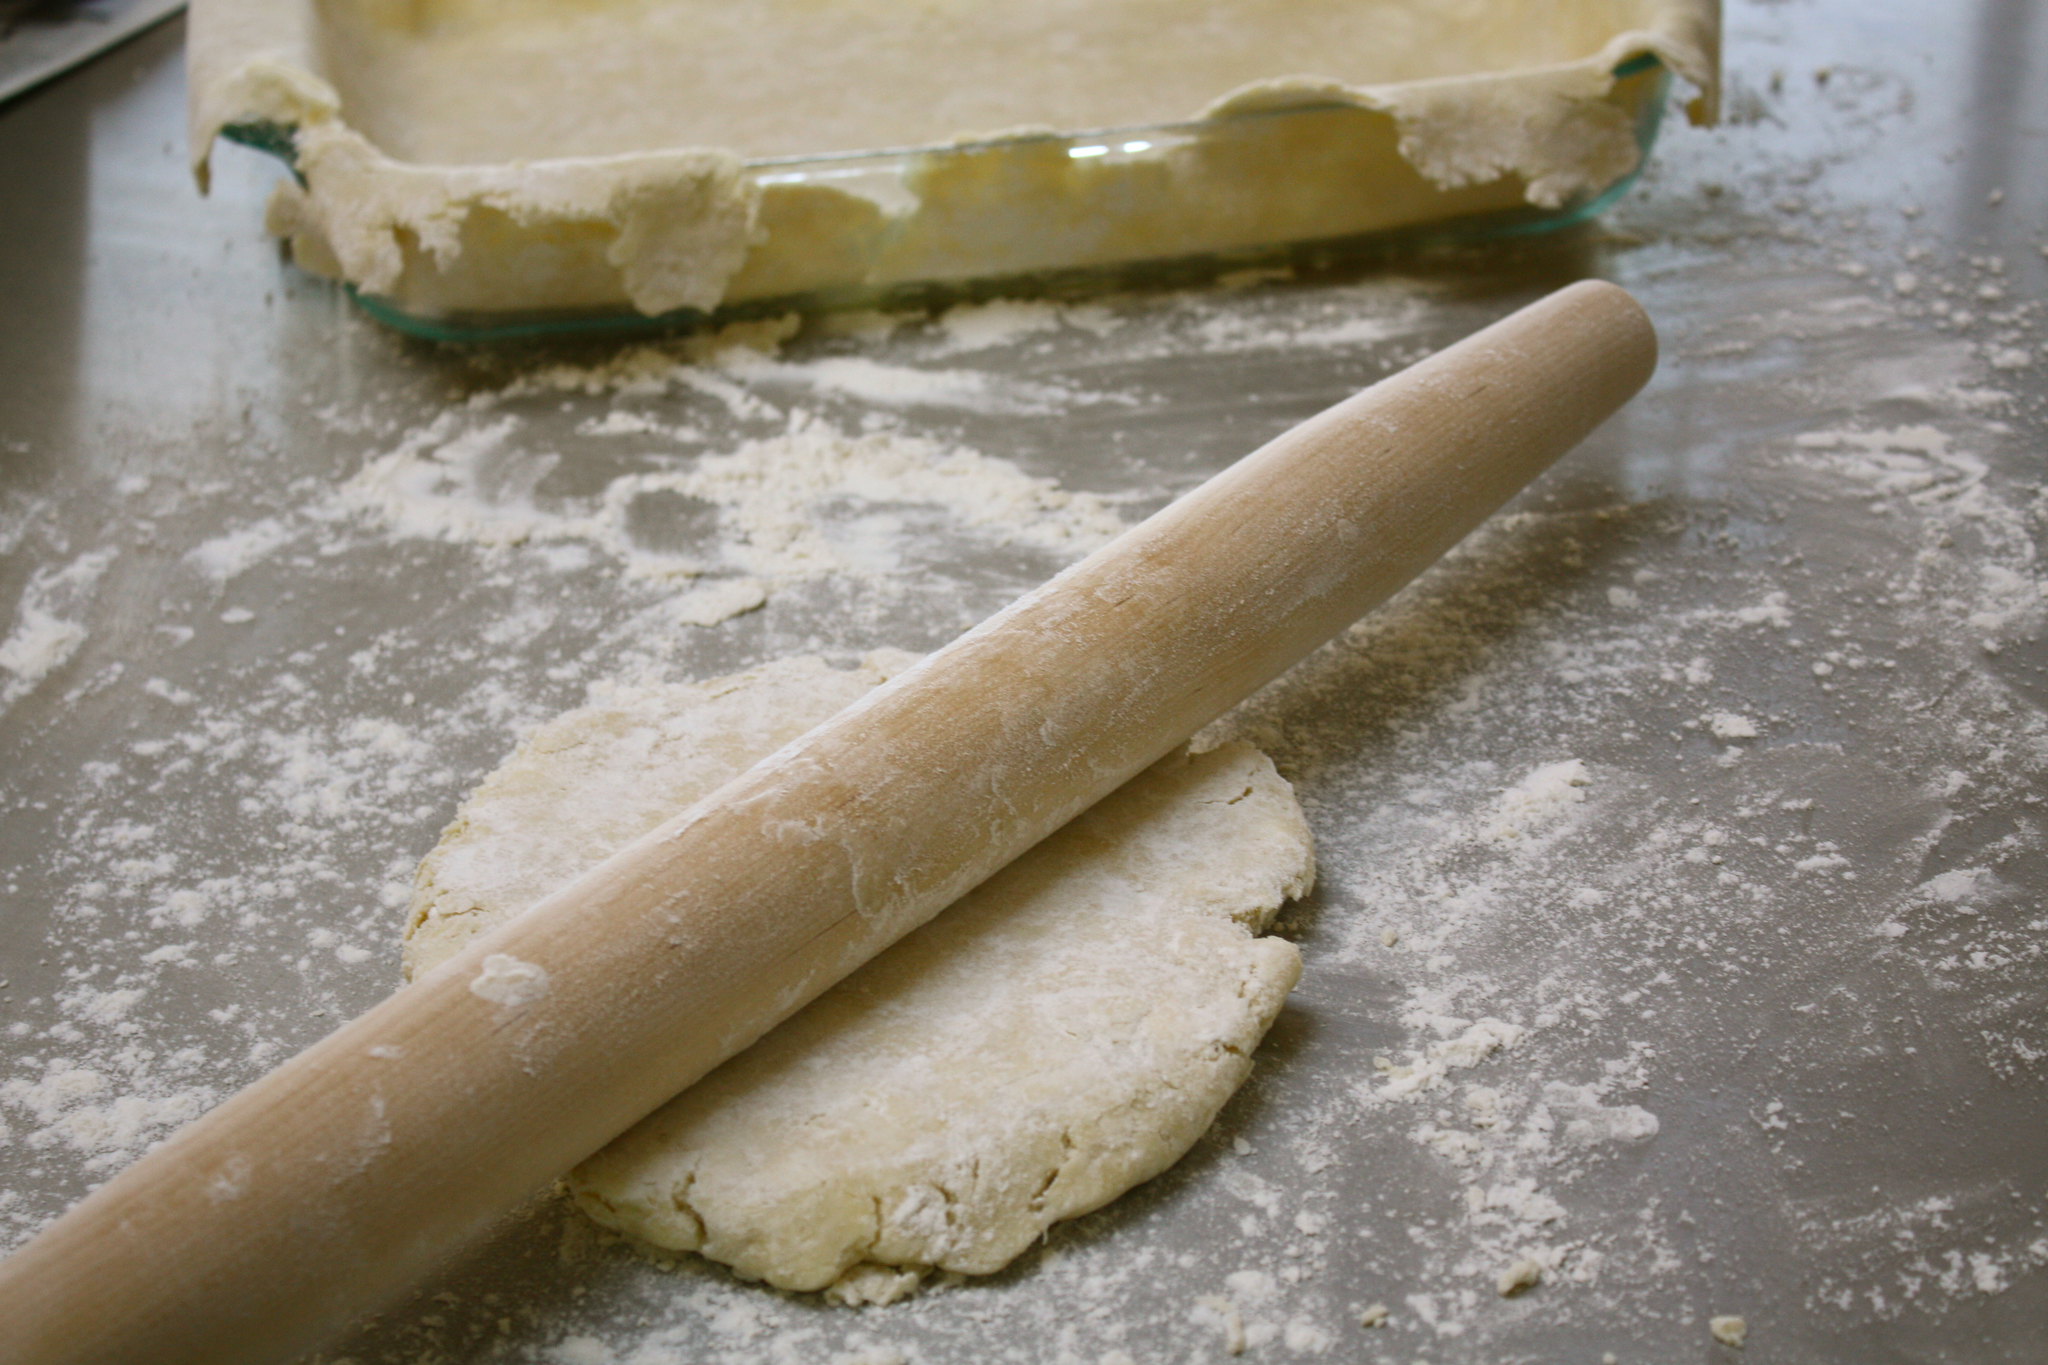
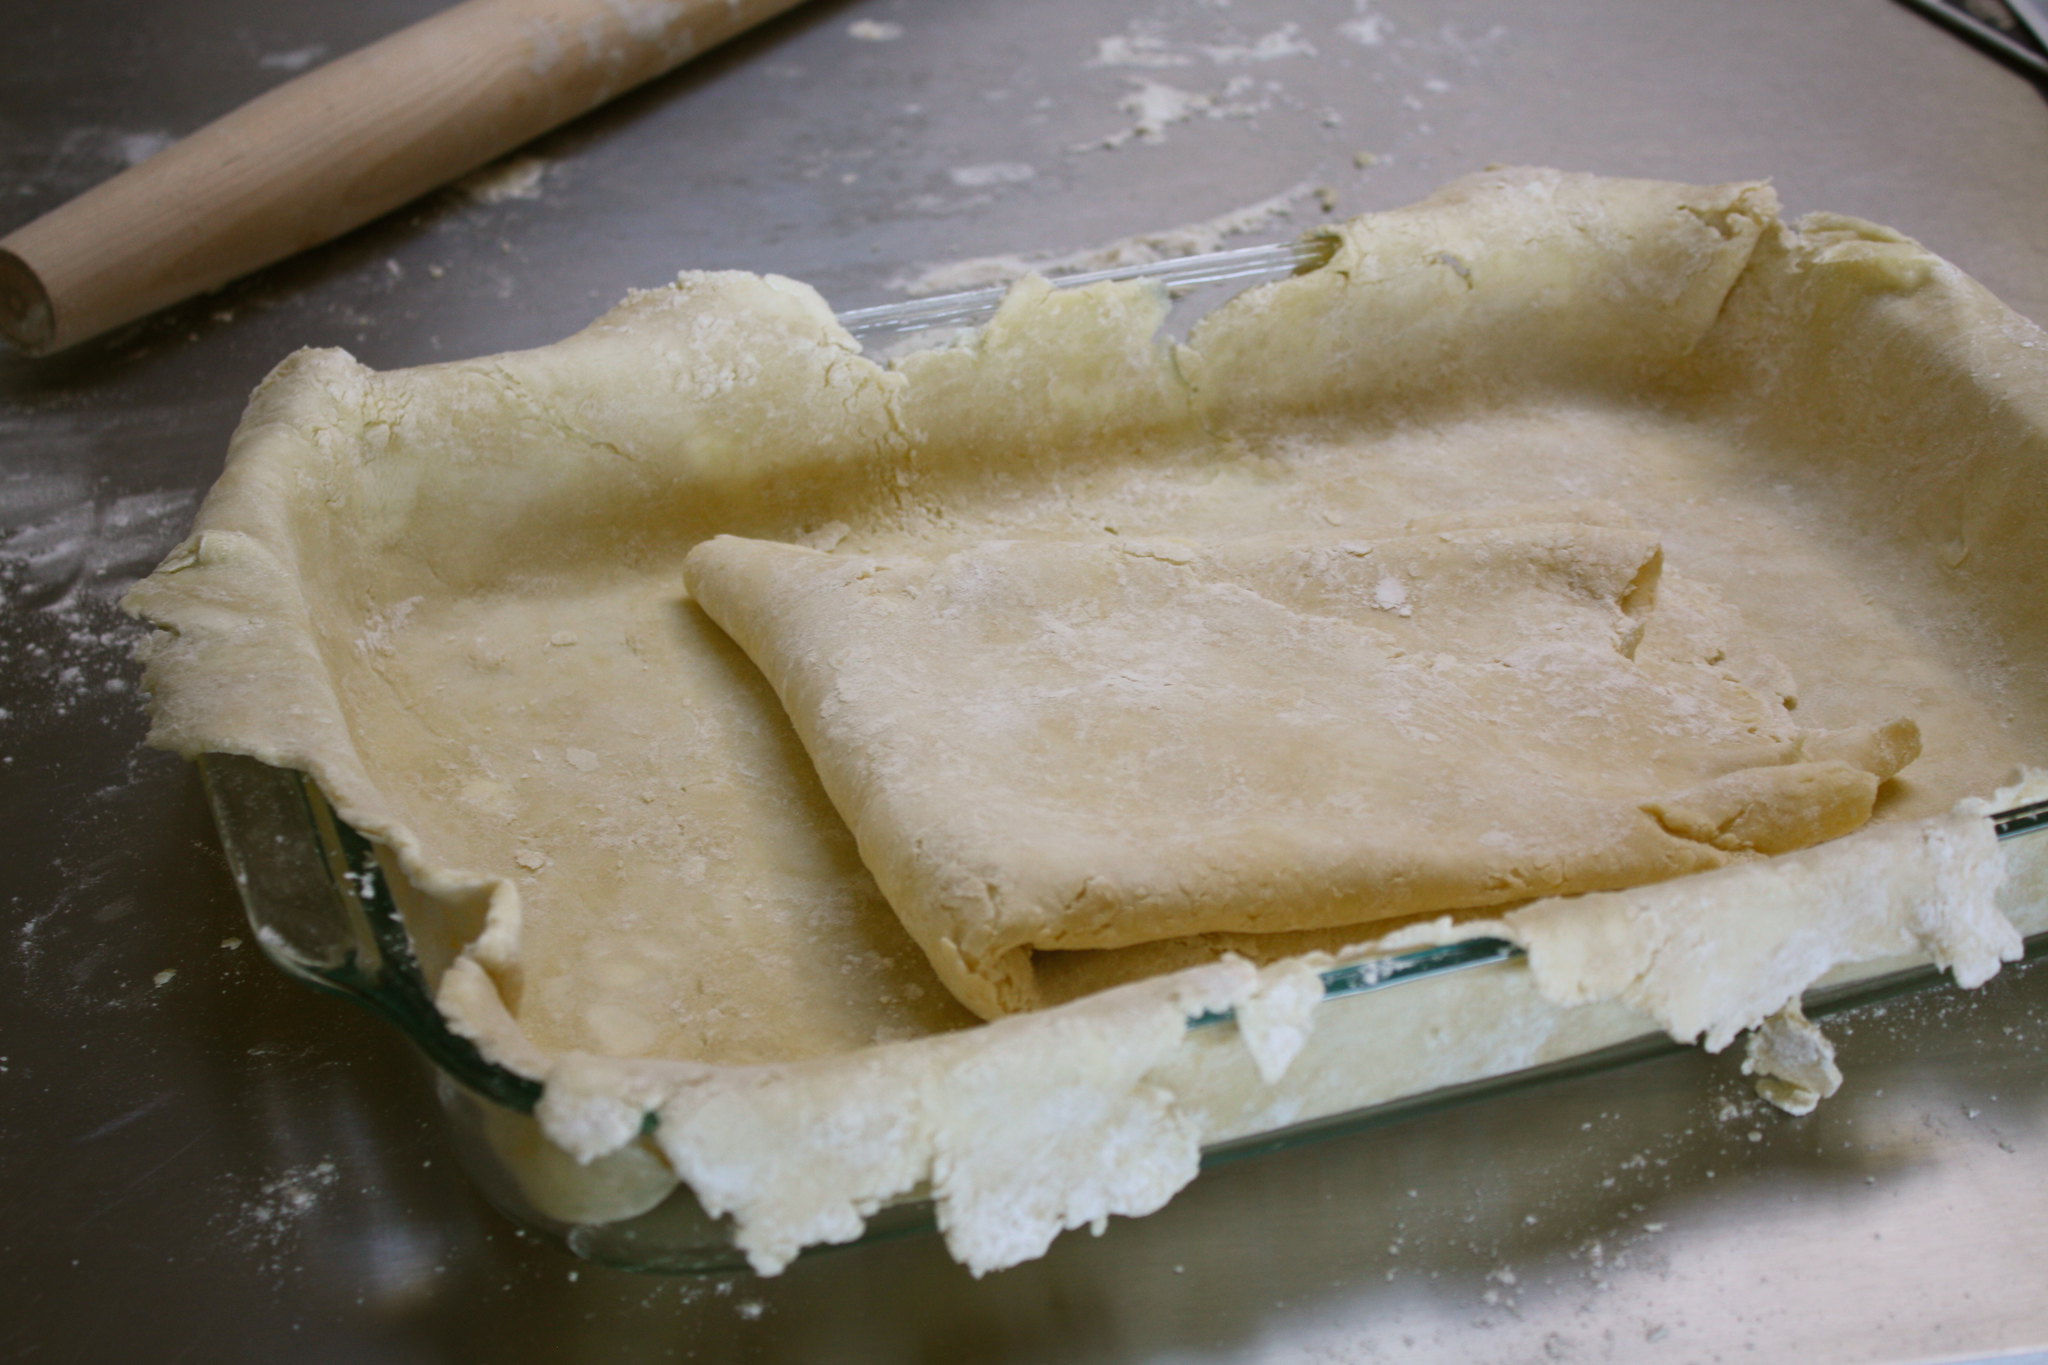
On a large floured surface, roll the larger dough half (if you made them uneven, as I did) into an 18x13" rectangle. Work as quickly as you can to keep the dough cold, and use enough flour to keep it from sticking to the counter. Transfer the rectangle to your prepared baking dish/pan and gently drape it into the inner edges and corners – you will have some hangover, which Deb suggests you trim to 3/4", but which I eventually just rolled into my crimped edges.
Pour apple mixture onto dough and spread into an even layer.
Roll the remaining dough half into a 16x11" rectangle. Drape on top of filling and fold overhang from the base crust over the edges, crimping them together. With a sharp knife, cut slits all over lid to vent the steam. Brush top crust with:
2 tbsp heavy cream or one egg, beaten with 1 tbsp of water
Bake until crust is a deep golden color and filling bubbles, 40-45 minutes. Cool on a wire rack until just warm, about 45 minutes.
Glaze
Glaze
In a medium bowl or a large liquid measuring cup, stir together until a pourable glaze consistency is reached:
1/2c powdered sugar
1 tbsp (plus a drop or two more if needed) milk, water, lemon juice
Use the pouring spout of the measuring cup or a spoon
to drizzle over the pie's warm top. Serve the pie in squares or rectangles, warm or at
room temperature. It keeps at room temperature for at least three days, but I guarantee it won't last that long.

Need this now!
ReplyDeleteApple is my favorite fruit and eat 2 apple daily. Apple Slab Pie is really looking delicious and I really wants to make it myself. Thanks for sharing the recipe.
ReplyDeleteRegard
Lucas Moore